


Mounting a Tire (The Ole’ Fashioned Way)
There’s something about working with your own hands that makes you feel accomplished- especially when it comes to motorcycles. As a do-it-yourselfer, there is a therapeutic feeling when you physically man-handle a bike. It’s almost like letting out some frustration or aggression. Some jobs on a motorcycle, like engine removal and chopping up the frame, require physical strength. Changing tires is one that can also be satisfying.
With some jobs, machines make them easier, like changing a tire, but the machine is not something your everyday motorcycle wrench would have. It’s very big and expensive, and the job in low numbers can be done without it (obviously it would be counterproductive to do the manual technique of this article in a shop with high volume).
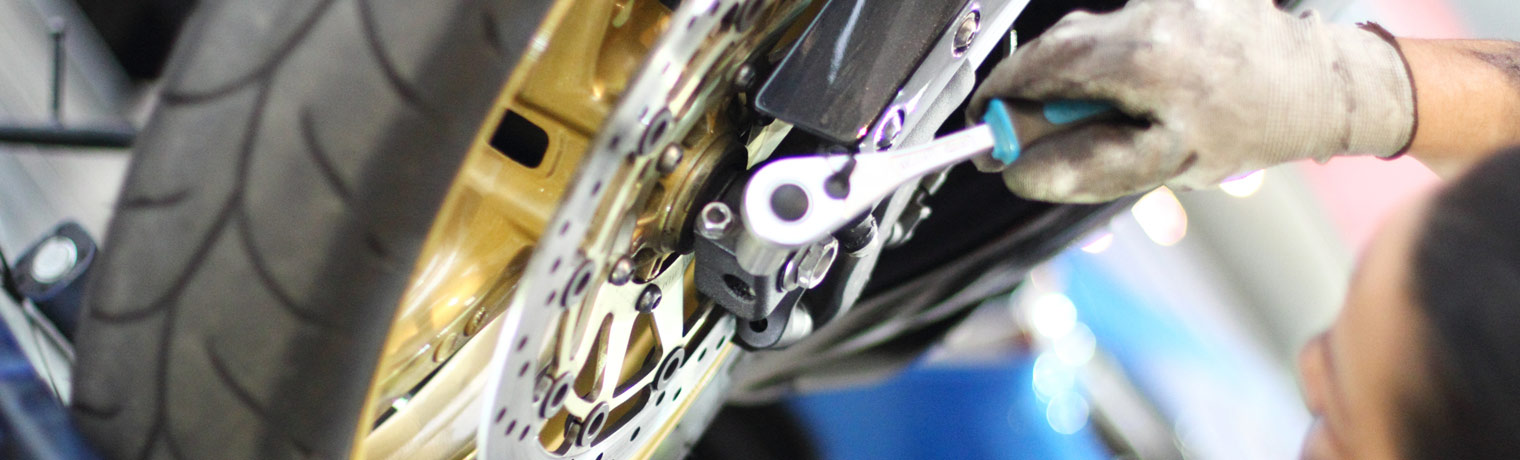
Whichever tire is being changed, the wheel will need to be removed from the motorcycle. This involves safely jacking the motorcycle up and removing the axle(s). Depending on the motorcycle, the brake caliper, fender, chain, etc. will also have to be removed.
A motorcycle tire can be tubed or tubeless depending on the wheel rim. A tubeless tire is usually cast aluminum or magnesium and has no spokes. A rim with spokes usually has a rubber band inside the rim and a tube to inflate the tire. In both cases, the tire is removed the same way. A tube may need to be removed and replaced on a rim with spokes.
Once the wheel is on the ground, the valve can be removed from the valve stem to let all of the air out of the tire. The bead of the tire will need to be separated to remove the tire. This can be done with a special bead tool that is like a dull chisel meant to be stricken by a large hammer, or an easy way is to put the tire and rim in a large vise. You can mount the vise on the tire just below the rim and squeeze the tire until the bead is released from the rim.
This site and articles contained herein are provided for general informational purposes only and are not a substitute or intended as professional advice. Please be sure to refer to your owner’s manual or consult a mechanic for information specific to your motorcycle. The information contained on this site and articles contained herein are provided on an “as is” basis with no guarantees of completeness, accuracy, usefulness or timeliness and without any warranties of any kind whatsoever, express or implied. Rider Insurance Company and its affiliates (together, “Rider”) assume no responsibility for any errors or omissions in the content of this site and articles contained herein. Any action taken upon this information is strictly at your own risk and Rider will not be liable for any losses or damages in connection with your use of this site and articles. Additional terms and conditions apply and are available at https://model.rider.com/plymouth-rock-assurance-general-terms-and-conditions/.
One side of the tire will then need to be worked off the rim. Using the tire iron, one edge of the tire can be lifted over the edge of the rim. Taking a second tire iron, a small “bite” around 2-3 inches can be taken on the tire edge. Once one tire iron is over the rim, the next can be placed in a crisscross pattern. A little of the tire at a time can be taken off the rim until the tire has been lifted over the edge of the rim.
With a tubed tire, the tube will be removed now. Tubes usually have a push through or screw on the valve stem. With a tubeless tire, the valve stem should be replaced so it does not leak in the future. Now the other tire edge will need to come off the rim. It comes off the same side the first edge was removed. A little at a time with the tire irons can work the tire off the rim. Do not take too much of a “bite” because the tension of the tire will be too great.
To put a new tire on, the reverse steps are taken. Lube the tire with a tire mounting lubricant. One edge of the rim can be shoved between the tire. Stepping on the tire holds it firm while the tire is being worked on with a tire iron.
Once one side is mounted over the tire rim, a new tube can be inserted. This takes some patience. Insert the valve stem and make sure the tube is not pinched anywhere. The other side of the tire can then be mounted in the rim. Slowly work the tire with tire irons being careful not to pinch the tube if the tire has one.
Fill the tire to the recommended PSI and make sure the beads seat on the rim. For a tubeless tire a ratchet strap can be used to squish the tire and make it easier to fill. Be sure the strap can be removed once the tire is filled with air. The wheel can be mounted on a balancing stand or truing stand. The wheel should be spun to check for wobble or out of round. Balancing a tire is as easy as mounting a weight opposite where the tire falls on the stand. If a tire falls at a different place each time it is spun, the wheel is in balance. The heaviest side will always fall to the bottom. The tire can be mounted back on the bike. The tire should be road tested at slow speeds, then highway speeds.
Plymouth Rock Assurance is a marketing name used by a group of separate companies that write and manage property and casualty insurance in multiple states. Motorcycle insurance in New Jersey and Pennsylvania is underwritten by Rider Insurance Company. Each company is financially responsible only for its own insurance products. Actual coverage is subject to the language of the policies as issued by each separate company.